Part 5 of the Pilates Essentials Series
Introduction: Why Pelvic Alignment Is the Quiet Powerhouse of Pilates
If there is one concept that quietly determines the success, safety, and effectiveness of nearly every Pilates exercise, it’s pelvic alignment. For teachers, understanding how to assess, cue, and correct pelvic positioning is essential — not only for technique, but for helping clients build long‑term functional strength, good posture and body awareness.
Pelvic alignment is the foundation of spinal organisation, core activation, hip mobility, and load distribution. When the pelvis is out of alignment, everything above and below it compensates. When it’s in neutral, the body moves with efficiency, stability and ease.
In this instalment of the Pilates Essentials Series, we explore how to teach pelvic alignment and neutral spine with clarity, confidence and precision — so your clients can move better, feel stronger and stay injury‑free.
1. Understanding Pelvic Alignment: The Teacher’s Perspective
Before we can teach pelvic alignment effectively, we need to understand what we’re looking for.
The pelvis has three primary positions:
- Anterior tilt — ASIS forward/down, lumbar spine increases in extension
- Posterior tilt — ASIS back/up, lumbar spine flattens
- Neutral pelvis — ASIS and pubic bone aligned
Why neutral matters
Neutral pelvis:
- Supports optimal spinal curves
- Allows the deep core to activate reflexively
- Reduces compensatory tension in the hips and lower back
- Improves load transfer through the kinetic chain
- Enhances balance and proprioception
For teachers, neutral pelvis is a functional starting point. It’s the place where the body is most organised and ready for movement.
2. How Pelvic Alignment Influences the Entire Body
a. The spine
The pelvis is the base of the spine. If the base shifts, the spine must adapt.
- Anterior tilt → increased lumbar lordosis
- Posterior tilt → flattened lumbar curve
- Neutral → natural shock absorption and segmental mobility
b. The core
Neutral pelvis allows the transversus abdominis, pelvic floor and multifidus to work together. If the pelvis is tilted, one or more of these systems becomes inhibited.
c. The hips
Hip flexors, extensors, abductors and rotators all attach to the pelvis. Pelvic misalignment often shows up as:
- Tight hip flexors
- Weak glutes
- Limited hip extension
- Overactive hamstrings
d. Movement quality
Clients with poor pelvic alignment often:
- Grip with their lower back
- Overuse superficial abdominals
- Struggle with balance
- Lose control during transitions
Teaching neutral pelvis early creates a foundation for everything that follows.
3. Teaching Neutral Spine: A Step‑by‑Step Approach for Instructors
Step 1: Establish body awareness
Clients need to feel the pelvis move before they can control it.
Use simple explorations:
- Pelvic tilts (anterior/posterior)
- Rocking side to side
- Circling the pelvis
These movements help clients understand the range available to them.
Step 2: Define neutral clearly
Use tactile, visual and verbal cues:
- “Imagine your pelvis is a bowl of water — in neutral, the water stays level.”
- “Your hip bones and pubic bone form a triangle — keep it flat like a tabletop.”
- “Feel equal weight on both sit bones.”
Step 3: Layer in breath
Breath helps release unnecessary tension and supports deep core activation.
Cue:
- Inhale to expand the ribs laterally
- Exhale to gently engage the deep abdominals without forcing a tilt
Step 4: Add load gradually
Once neutral is established, challenge it with:
- Arm movements
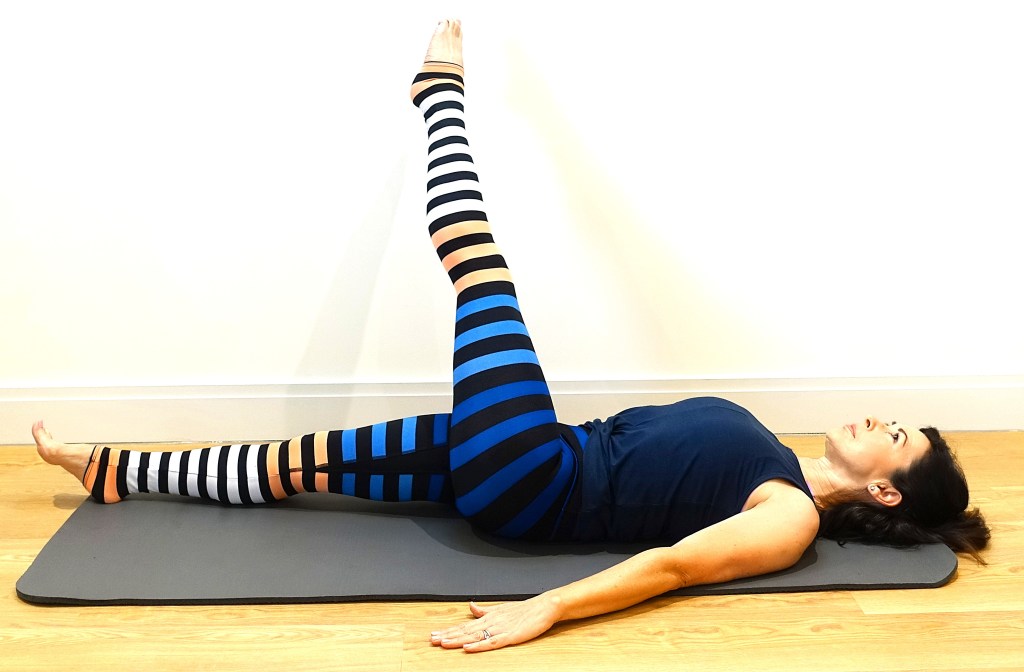
- Leg lifts
- Bridging variations
- Quadruped work
The goal is maintaining alignment under increasing demand.
4. Common Pelvic Alignment Issues & How to Correct Them
1. Over‑tucking (posterior tilt dominance)
Often seen in clients who:
- Have tight hamstrings
- Overuse superficial abdominals
- Fear lumbar extension
Corrections:
- Encourage length through the spine
- Cue the sit bones to widen
- Reduce abdominal bracing
- Strengthen hip flexors and spinal extensors gently
2. Over‑arching (anterior tilt dominance)
Common in:
- Can be seen in hypermobile clients
- Those with tight hip flexors
- People who stand with “gymnastic/dancer’s posture”
Corrections:
- Cue drawing back the ribs
- Encourage engagement of lower abdominals
- Stretch hip flexors
- Strengthen glutes and hamstrings
3. Lateral pelvic shift or hike
Often caused by:
- Glute med weakness on one side
- Scoliosis
- Habitual standing patterns
Corrections:
- Cue equal weight on both sit bones
- Strengthen lateral hip stabilisers
- Use mirrors or tactile feedback
5. Cueing Strategies That Actually Work
Use imagery
Pilates thrives on imagery because it bypasses overthinking.
- “Imagine your pelvis is a compass — keep north and south aligned.”
- “Think of your pelvis as a bowl of fruit — don’t spill it.”
Use tactile cues
Either client of you with consent:
- Hands on ASIS
- Hands on the sacrum
- Guiding the pelvis through tilt and neutral
Use functional cues
- “Can you breathe without your pelvis shifting?”
- “Can you lift your leg without your back joining in?”
Use layered cueing
Start simple → add detail → refine precision.
6. Exercises That Teach Pelvic Alignment Naturally
1. Supine pelvic tilts
Build awareness and control.
2. Bridge extended leg variation
Teach hip extension without lumbar compensation.
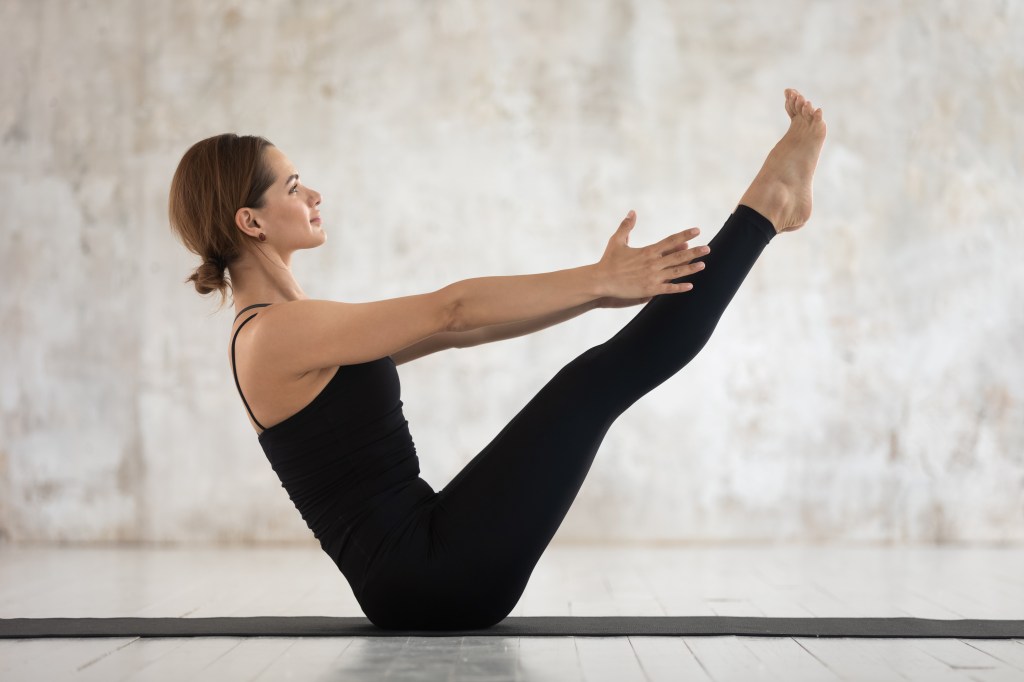
3. Dead bug / toe taps
Challenge neutral under load.
4. Quadruped arm/leg reach (Box Swim/Superman)
Integrates core, pelvis and shoulder stability.
5. Standing weight shifts
Bring pelvic alignment into functional movement.
7. How to Progress Clients Safely
Start with awareness
Clients must feel the pelvis move.
Add stability
Introduce neutral and hold it with breath.
Add load
Leg lifts, arm reaches, bridging.
Add complexity
Rotation, balance, transitions.
Add functional integration
Standing work, balance, gait patterns.
8. Why Pelvic Alignment Is a Game‑Changer for Teachers
When you teach pelvic alignment well, you help clients:
- Reduce back pain
- Improve posture
- Strengthen their core
- Move with confidence
- Understand their bodies
- Build long‑term resilience
It also elevates your teaching:
- Your cueing becomes clearer
- Your programming becomes more intentional
- Your clients progress faster
- Your sessions become safer and more effective
Pelvic alignment is not just a concept — it’s a teaching superpower.
Conclusion: Neutral Pelvis as the Foundation for Everything That Comes Next
Pelvic alignment and neutral spine are the cornerstones of safe, effective Pilates practice. When clients understand how to organise their pelvis, they unlock better movement patterns, deeper core activation and a more connected mind‑body experience.
As teachers, our role is to guide them toward awareness, control and confidence — one cue, one breath and one movement at a time.