Category: Blog

  • The Benefits of Self-Myofascial Release

    Unlock Mobility, Ease Pain & Tension, Boost Performance

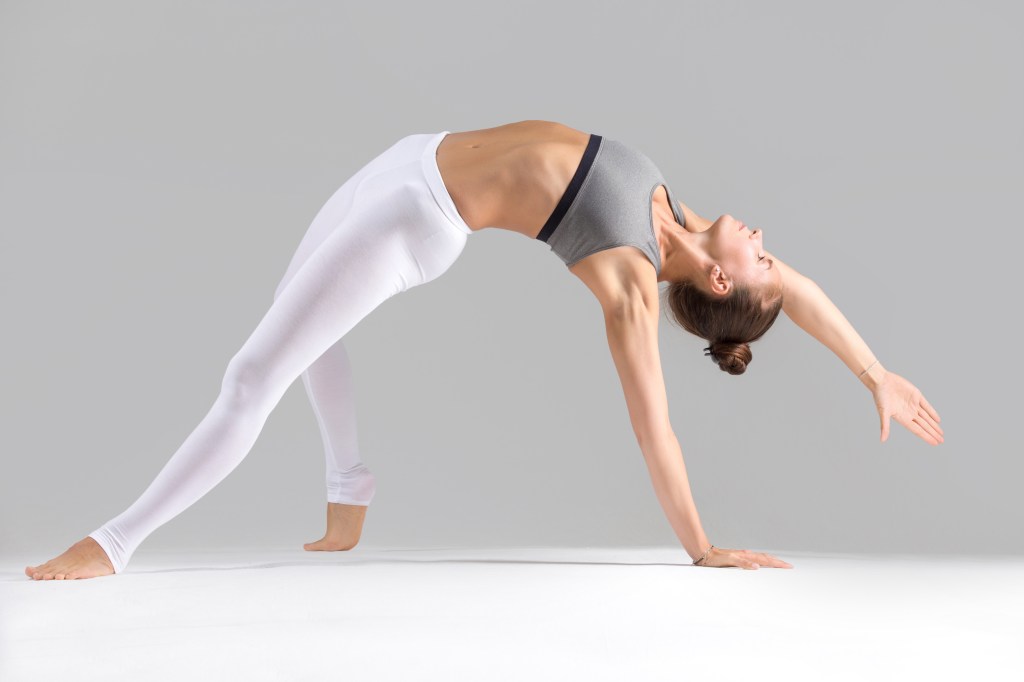
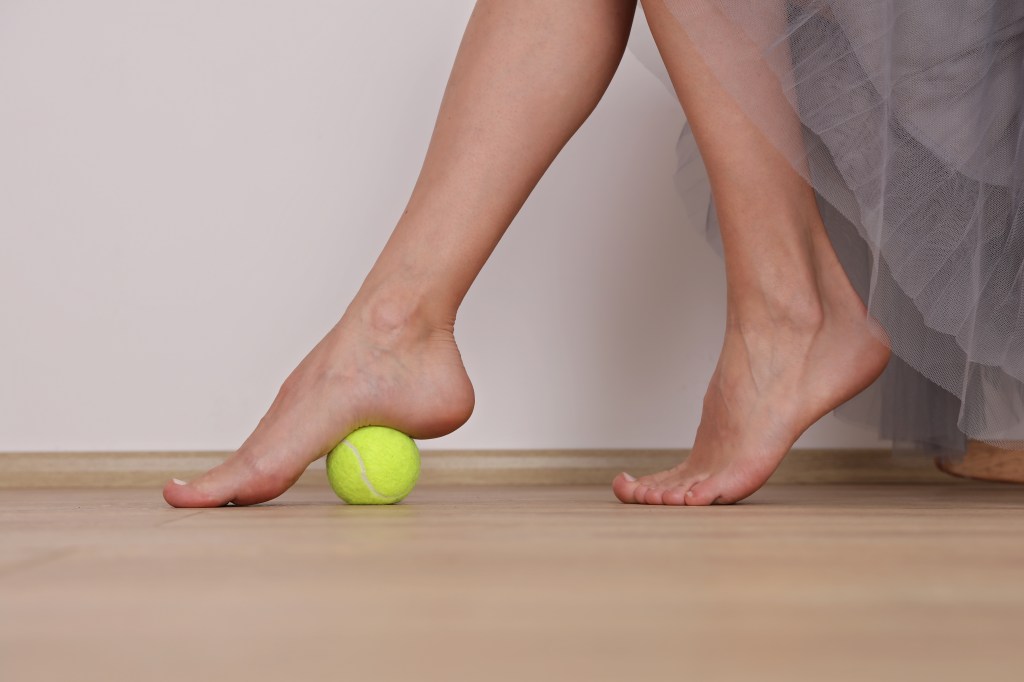
    Self-myofascial release of plantar fascia

    I created my new course: Freedom of Motion: Fascia & Self-Myofascial Essentials following great success in dealing with my own chronic injuries.  It really has been a revelation.  In today’s fast-paced world, many of us experience muscle tightness, aches, injuries, chronic pain and a limited range of motion, whether we’re athletes, office workers  or simply juggling the demands of daily life.  Self-myofascial release (SMR) is becoming an increasingly popular technique for managing these issues and when woven into a class that also included restorative breathing techniques, we can restore mental and emotional wellbeing too. 

    But what exactly is SMR and why are so many people singing its praises?  In this post, we’ll explore the key benefits of self-myofascial release and why it might be worth incorporating into your wellbeing routine or if you’re a movement professional, integrating it into sessions.

    What is Self-Myofascial Release?

    Self-myofascial release is a form of self-massage that involves applying gentle, sustained pressure to the connective tissue that surrounds and permeates your muscles — known as fascia.  Typically, people use foam rollers or massage balls to target areas of tightness or discomfort.  The goal is to release tension, improve tissue quality and promote better movement.

    The Top Benefits of Self-Myofascial Release

    1. Reduces Muscle Soreness and Tension

    One of the most immediate benefits of SMR is relief from sore, tight muscles.  By rolling out knots and trigger points, you can alleviate discomfort following exercise or long periods of inactivity.  This can help you recover faster from workouts or simply feel more at ease throughout the day.

    2. Improves Flexibility and Range of Motion

    Regularly practising self-myofascial release can help lengthen muscles and fascia, enabling you to move more freely.  Whether you’re aiming to touch your toes or simply reach for something on a high shelf, improved mobility makes daily activities and movement easier and safer.

    3. Enhances Athletic Performance

    For athletes and fitness enthusiasts, SMR can be a game-changer.  By releasing tightness and improving tissue quality, you can move more efficiently and with better alignment.  This not only helps prevent injury but can also boost overall performance, whether you’re running, lifting or playing sport.

    4. Aids in Injury Prevention

    Tight or restricted fascia can contribute to muscle imbalances and poor movement patterns and increase the risk of strains or sprains.  By keeping the connective tissue supple, self-myofascial release helps maintain proper biomechanics, reducing the likelihood of injury during physical activity.

    5. Supports Relaxation and Stress Relief

    Beyond the physical benefits, SMR can be a deeply relaxing practice.  The slow, mindful pressure encourages your body to activate its parasympathetic nervous system — the “rest and digest” mode — helping to reduce stress levels and promote a sense of calm.

    Self-myofascial release is a simple, accessible technique that offers a wealth of benefits, from easing muscle soreness to improving flexibility and supporting overall wellbeing.  Whether you’re a movement professional looking for effective tools to help your clients or just want to feel more comfortable in your own body, SMR is a valuable addition to anyone’s self-care routine.

  • Diaphragmatic Breathing: the Cornerstone of Every Pilates Class

    Nothing else will make sense unless you start here

    One of the assignments for the assessed Certification is to teach the Fundamentals, the foundations of Pilates: neutral position, core activation and thoracic breathing.  So many students start with thoracic breathing, but clients will struggle to understand this if they aren’t breathing deeply (or normally?) first.  They will struggle to understand what the core muscles are and where they are.  They will struggle to engage them effectively.

    I say “normally” because this is the way we should all be breathing as we go about our daily business, so let’s start with a definition and method:

    What is Diaphragmatic Breathing?

    Diaphragmatic breathing, also known as abdominal or deep breathing, is a technique that involves the diaphragm pressing down onto the abdominal organs as it flattens out when it contracts.  It is the primary muscle responsible for the mechanics of breathing, located at the base of the lungs which divides the chest cavity from the abdominal cavity.  Diaphragmatic breathing encourages fuller oxygen exchange by expanding the thoracic cavity on inhalation, creating a vacuum that pulls air into the lungs.  As the diaphragm relaxes and returns to its dome shape, aided by the natural  contraction of the core muscles, air is pushed from the lungs.  

    Immediately, you can see how the core muscles respond naturally when we breathe efficiently, without us having to think about making it happen.  We are left in no doubt where they are or how to activate them on the exhalation.  It’s a small step to holding the core engagement whilst inhaling as well as exhaling and clients will observe that now, rather than the abdomen expanding to make space for the diaphragm, the ribs expand: thoracic breathing!

    How to Practise Diaphragmatic Breathing

    1. Find a comfortable position, either sitting or lying down.
    2. Place one hand on your chest and the other on your abdomen.
    3. Breathe in slowly through your nose, allowing your abdomen to rise as the diaphragm contracts and draws air into your lungs. Your chest should remain relatively still.
    4. Exhale slowly through your mouth, feeling your abdomen fall as you expel the air.
    5. Repeat this process for several breaths, focusing on the movement of your abdomen and contraction of the core on the exhale.
    6. Notice also the natural movement of the spine – albeit subtle – from extension as you inhale to flexion as you exhale, essential for efficient breathing.

    Benefits of Diaphragmatic Breathing

    • Reduces stress and anxiety: Deep, focused breathing activates the body’s relaxation response, lowering stress hormones and promoting a sense of calm.  The first principle of Pilates is “Relaxation”.
    • Improves oxygen exchange: By fully engaging the diaphragm, more oxygen reaches the bloodstream, which enhances overall health and energy levels.
    • Lowers heart rate and blood pressure: Regular diaphragmatic breathing can help reduce heart rate and blood pressure, supporting cardiovascular health.
    • Enhances concentration and focus: The mindful aspect of the technique can improve mental clarity and alertness.
    • Supports respiratory function: It can increase lung efficiency and is often used in pulmonary rehabilitation and by those with breathing difficulties.
    • Relieves muscle tension: Engaging the diaphragm and promoting relaxation can help ease muscle tightness, especially in the shoulders and neck.
    • Improves posture: Practising diaphragmatic breathing encourages better posture by activating core muscles and reducing reliance on chest and shoulder muscles for breathing.

    Starting each class with diaphragmatic breathing will lead to a better understanding of Pilates Fundamentals and a greater ease and efficiency of use.  It can help focus the mind at the beginning of every class and lead to significant improvements in both physical and mental well-being.   A great way to finish a class, too.

  • Teaching Tips:

    How you and your Client can get the Most out of every class

    For the first 15 years of my career in the fitness industry, I taught high energy, highly choreographed classes to music – aerobics and Step mainly.  I did it all – every step, hop and jump – all 25 classes some weeks!  I was fit and loved every minute of it.  If I stopped, they stopped, so we did it all together.

    The first thing I noticed on day one of my first Pilates teacher training course back in 2000 was that the teacher didn’t do any of the exercises!  Each training day began with a Pilates class and she didn’t do one exercise.  Yet she managed to get us all safely through a number of very enjoyable sessions. 

    The most common scenario, however, in many leisure centres and clubs is the teacher lying down at the front of the class, doing the exercises with the clients who are constantly stopping, lifting their heads or even sitting up to see what’s going on.  Not ideal in a mind/body somatic type class that is essentially about posture, concentration, co-ordination, flow, precision, etc.

    It’s a subject that comes up often and something I see all the time in my student assessments for Certification.  It’s something I used to do myself which left me with a deep sense of loss of control and frustration.  I’ve been lucky enough to work with some incredible instructors from around the world in some exclusive studios with discerning clients and I’ve learned a lot.  I wanted to share a few insights that have helped me through my many years of teaching and kept me here for 40 years.

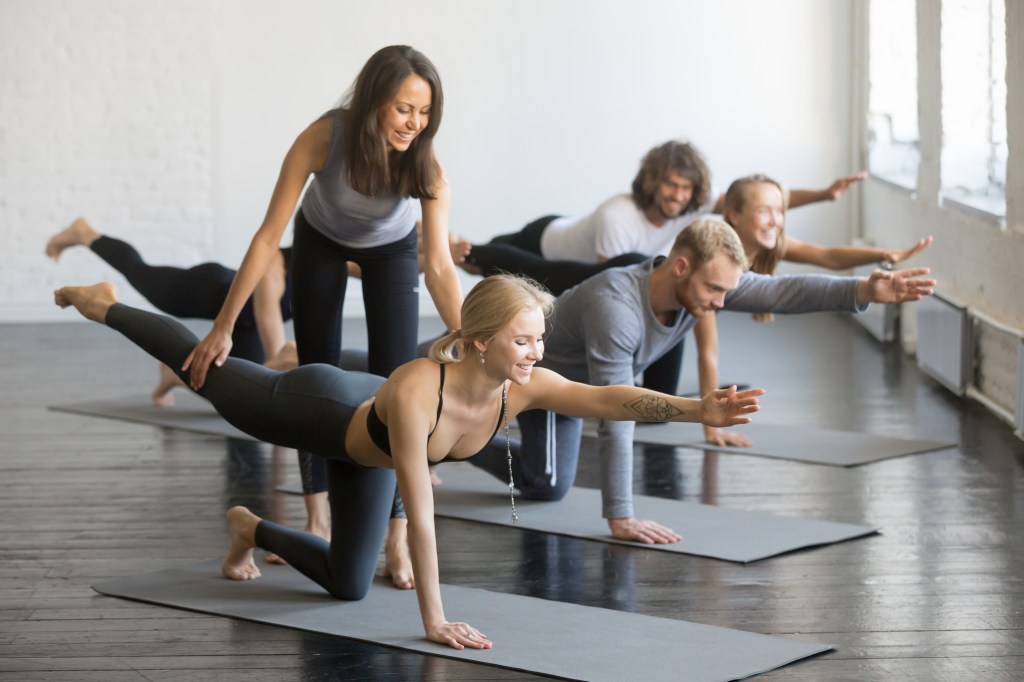
    1. What is your role as a teacher?  To help your clients learn, understand and practice Pilates safely and effectively.  We were always told: “If you want a workout, go to a class.”  Through a combination of demonstration (keep it brief – just one thing to get them started), verbal/physical cues and adjustments, together with relevant information whilst observing the class, you will spend most of your time on your feet (except for beginner classes).
    2. Understand what you are teaching: there is a massive difference between fitness classes that are heavily choreographed, high energy with loud music.  The cues are less on technique and more on direction.  You need to be doing otherwise it soon deteriorates into total chaos!  But they can see you all the time unlike in a Pilates class. 
    3. Pilates is a mind/body form of exercise: you want them feeling it and “going inside” rather than trying to rely on seeing what you are doing.  They can’t see you easily anyway for most of the exercises as they are supine or prone.  You can’t see them if you’re lying down.  If you need to demonstrate something new, try to plan it to follow a seated or side-lying exercise and put yourself in front of them.  Or demo at some point during the warmup when they are busy doing something simple.  Keep it brief.
    4. Separate the beginners from the rest:  sometimes easier said than done if you are working for a leisure centre of similar, but the classes will be more satisfactory for all concerned.
    5. Arrive early:  if you have no control over who comes to which class, you can at least avoid surprises!  Briefly welcome the regulars and position the beginners for easy access.  Maybe at least give them a quick tour of neutral and thoracic breathing before class.  Always teach these fundamentals in every class.
    6. Kiss:  Keep It Super Simple – in mixed classes, start with a modification that everyone is likely to understand and move the more advanced on once everyone is moving.  Don’t try to cram too much into the class either – technique over reps and content.
    7. Sharpen up your verbal cues, vocabulary and use visuals:  they are more likely to do the exercise correctly if the language is clear and descriptive.
    8. Try not to count all the way through:  maybe just “last 2” or similar so that they can gauge whether to rest or see it through.  There are so many interesting things to say – muscles, benefits, principles, technique, etc.  Once you start to really see what’s in front of you, you will know when they’ve done enough!
    9. Avoid over-correcting:  It can be demoralising for “the one” who seems to always struggle with the same thing.  When you do correct, do it in a positive way.  Say what they are doing well and use positive reinforcement.  It’s very motivating to be told that you’re doing a great job.  Also, in larger groups, priortise safety, correcting those who are in danger of hurting themselves.  Obviously in a large group you won’t get to everyone but if you don’t get to someone, try to do so the following session.  Stay on at the end and help “the one” understand the exercise – we all learn in different ways and sometimes, we just don’t hear or feel it for a while.
    10. Plan: there’s nothing like being prepared.

    Conclusion

    Unless you are teaching Pilates as a side hustle, you need to teach a lot of classes a week to make a living.  It just wouldn’t be sustainable (or healthy) to do the whole class (or even half of it) every time.  Standing in front of a group of people can be daunting, especially in the early days of teaching; both you and your clients may feel self-conscious at first – you, because of all eyes on you and eye contact; they, due to the personal attention they are getting – but you will all get used to it and come to enjoy it.  They will learn to really value and appreciate your attention to detail and to them and you will find that engaging fully with your clients makes the whole experience so much more rewarding.  The more you practice, the more familiar it will become, and your confidence will grow, as will your reputation as an expert instructor.

    #pilates #pilatesteacher #pilatesteachertraining

  • Working with Common Health Conditions & Injuries

    Many of us teaching Pilates, yoga and fitness classes rarely have the luxury of choice or control when it comes to those attending our sessions. In an ideal world, we would have separate classes or courses for beginner, intermediate and advanced clients, but if we work for studios and leisure centres, it’s about filling the class. For those of us who are self-employed, we often serve the local community and therefore don’t have the client pool to offer too much diversity in terms of levels.

    This conundrum is further magnified when we consider special populations – for example, pre/postnatal and seniors – as well as being able to safely accommodate those with injuries and health conditions. How often have you attended a class where the teacher asks if anyone has any issues and upon hearing that yes, osteoporosis, they have advised the client to “take it easy, stop if there’s any pain”. Good advice, but not very specific or safe.

    As instructors, we have a duty of care to our clients to understand the most common health conditions and injuries if we are to accept those suffering with them to attend our classes. If we want to go the extra mile – and we should – we need to know which exercises are suitable, which aren’t and how we can adapt them.

    With this knowledge, not only can we keep ourselves and our clients safe, but we can actively improve their quality of life by helping them to recover or manage their issue. It also opens up a new avenue of opportunity as this will widen our client base and give us the expertise to work with other healthcare professionals and therapists.

    My new course, Orthopaedics: Pilates Adaptations for Common Conditions & Injuries is now available, leading to a Clinical Pilates CPD Certificate. The knowledge you will gain will give you and your clients the confidence to work together and make a real difference.

    #pilates #PilatesInstructor #CPDtraining #Orthopaedics #injuries #arthritis #osteoporosis #meniscusinjury #ligamentinjury #backpain

  • Breathing in the Pilates Push Up

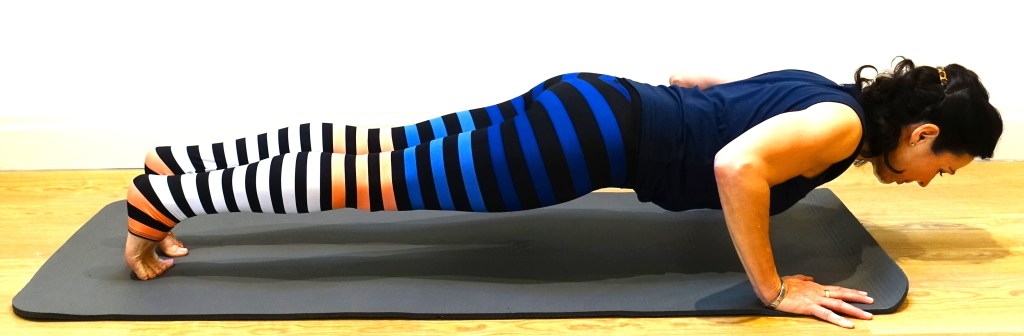
    A question I’m often asked by students is whether we should inhale or exhale on the way down during a Push Up. I have used both options in some of my videos in the past so a very valid question.

    I discuss this subject and my choices in a short video on my Facebook page so read this post, watch the video and you decide! I’m talking about Push Ups in Pilates and explain why I think there is a choice. In the meantime, let’s look at the general advice on the subject:-

    In the world of strength/resistance training and the gym, a personal trainer would advise inhale on the eccentrc contraction (on the way down) and exhale on the concentric contraction (on the way up). Some would advise performing a Valsalva Manouvre (breath holding). This link will take you to a video where Mike Robertson suggests inhaling to prepare, exhale to engage the core, then perform the Push Up without breathing in either direction.

    I suspect that most people aren’t particularly aware of exactly how they breathe during this exercise. Pay attention, experiment and find what enables good technique and ensures safety for you.