Gentle strength work improves confidence, gait, and independence.
Introduction
These days, if you’re teaching daytime classes, they are likely to be full of seniors. When I first started teaching, this was definitely not the case: my 9.30am classes were full of mums who, having dropped the children off at school, would spend much of their mornings in fitness classes. Now, these classes are the luxury of those who can work flexitime or more commonly, those who have retired.
When we think about exercise for older adults, we often jump straight to balance training. And yes — balance matters. But the latest research in ageing, fall prevention, and functional mobility shows something even more important: power.
Not “gym power”. Not jumping or sprinting. But gentle, controlled, confidence‑building power — the ability to produce force quickly enough to stay safe, move well, and remain independent.
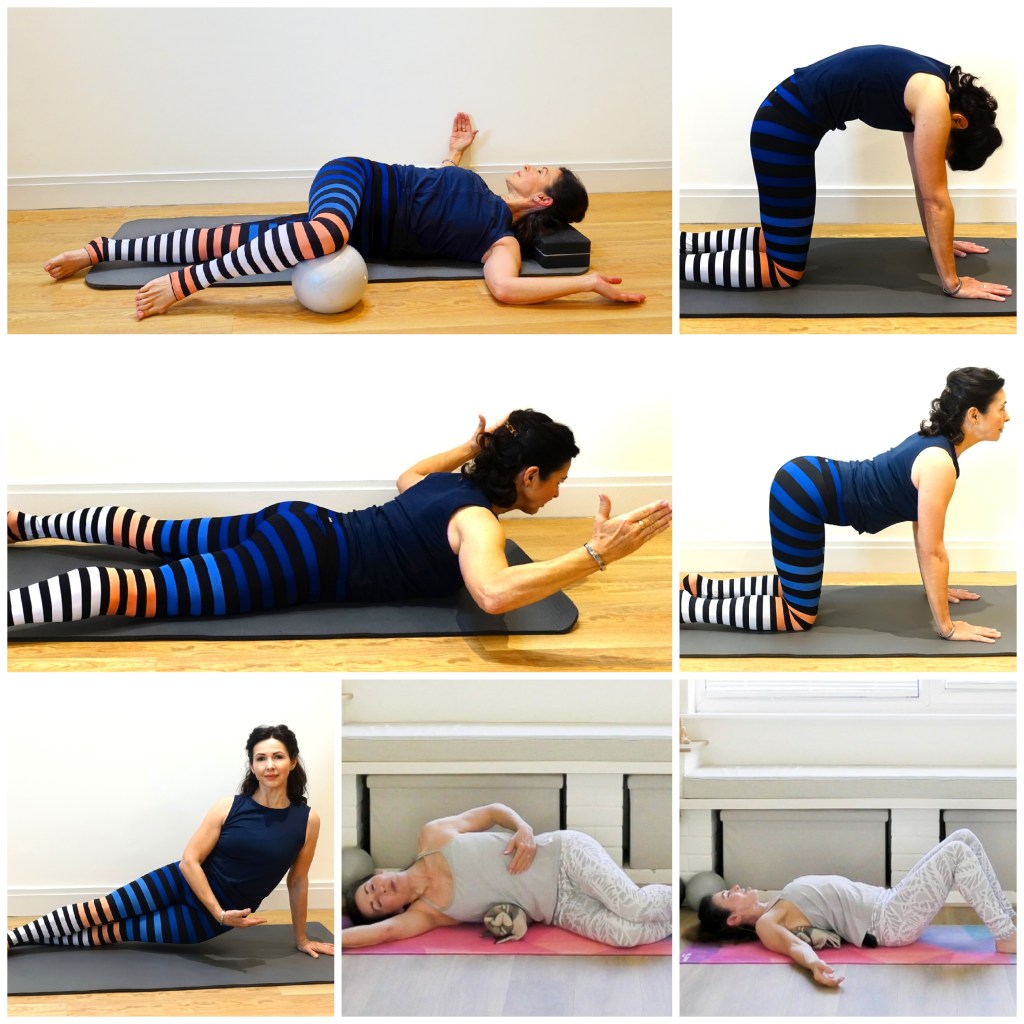
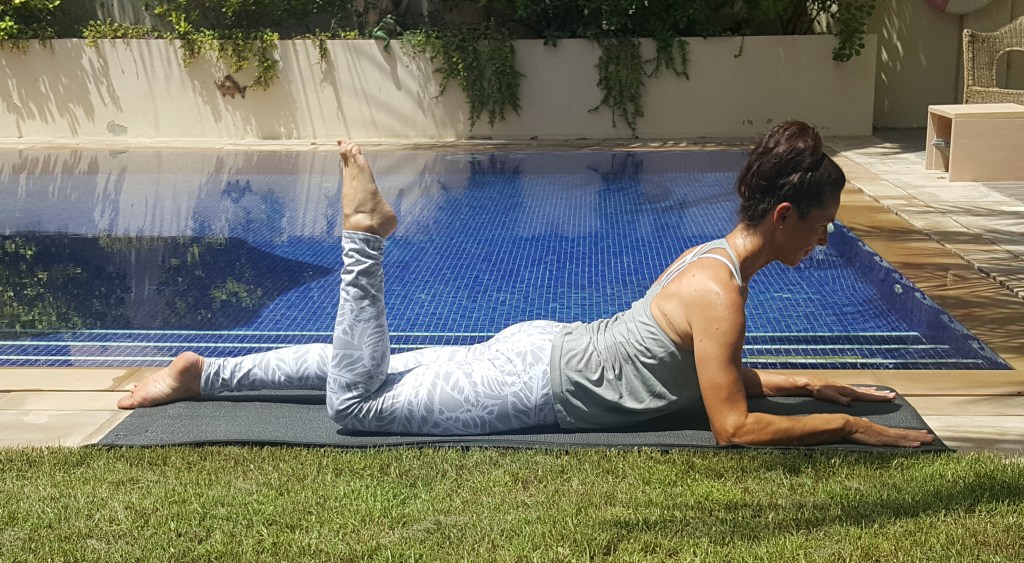
This is where Pilates shines, not least because of the core strengthening opportunities and postural correction at it’s centre.
What Is Power for Seniors?
Power is simply strength + speed. It’s the ability to react, stabilise, and move with enough force and control to meet the demands of daily life.
For seniors, power looks like:
- Catching yourself if you trip
- Smoothing rising from a chair
- Climbing stairs without hesitation or reluctance
- Turning quickly without losing balance
- Lifting groceries with confidence
These are not “fitness goals”. They are independence goals. The exercises we choose need to be functional.
Why Power Declines Faster Than Strength
As we age, we naturally lose muscle mass (sarcopenia). But what declines even faster is type II muscle fibre (fast twitch) recruitment — the fibres responsible for quick reactions and stabilisation.
This means:
- Balance training alone isn’t enough
- Slow, gentle movement doesn’t fully prepare the body
- Seniors need safe ways to practise responding and moving with intention
Pilates offers this beautifully through controlled tempo changes, resistance, and mindful coordination.
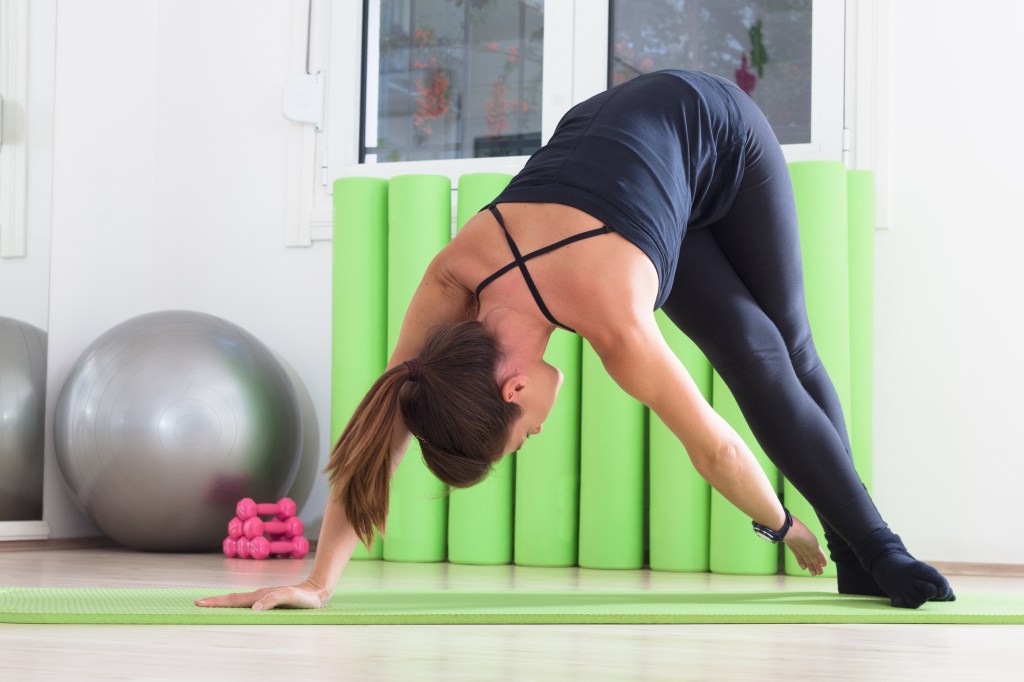
How Pilates Builds Power Safely
Pilates is uniquely suited to senior power training because it emphasises:
1. Controlled speed changes
Slow → medium → slow This teaches the nervous system how to adapt. You can incorporate this in many ways, for example, you could take a Single Leg Stretch and play with the tempo, taking two repetitions slowly with the breath, then 4 reps double time.
2. Whole‑body coordination
Power isn’t just muscles — it’s timing, sequencing, and stability. Exercises like a full Shoulder Bridge or Dead Bugs are good examples of this.
3. Resistance without strain
Bands, light weights, and bodyweight create safe challenge. Adapting exercises to standing can offer resistance and balance, for example, lifting alternate knees to work the core and balance. Light hand weights will add further resistance and co-ordination challenges.
4. Joint-friendly movement
No impact. No jarring. Just intelligent loading.
Three Power Drills for Seniors
All Pilates exercises are excellent but you can also add the following exercises to further enhance your classes which are beneficial for all.
These are simple, safe, and incredibly effective.
1. Sit-to-Stand with Arm Reach
Builds leg power, balance, and coordination.
- Sit tall
- Stand with a gentle push – this is your power move!
- Reach arms forward as you rise
- Lower with control – take twice as long for a tempo change
Why it works: It mimics real-life movement and improves reaction time.
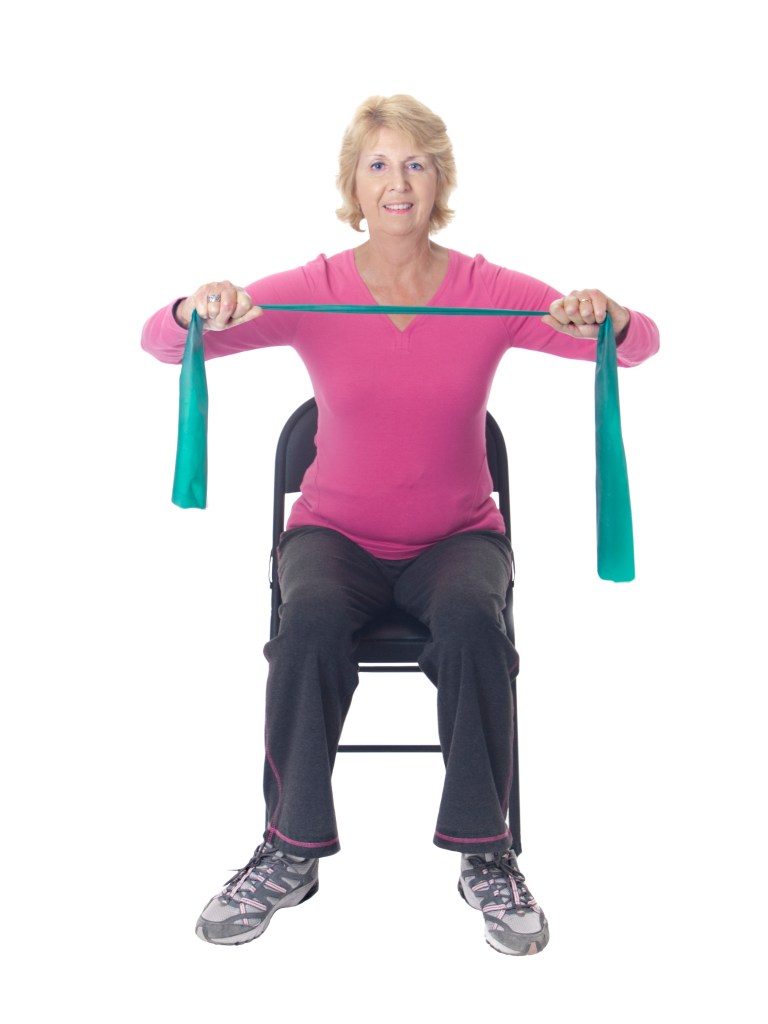
2. Heel Press + Arm Pull (Resistance Band)
Builds upper-body power and gait stability. You can choose any type of upper body exercise. You can also do this in a Shoulder Bridge position with the hips lifted and press down with the heels, lift the toes slightly.
- Sit or stand tall
- Press heels into the floor – this engages the glutes.
- Pull the band back with intention
- Release slowly
Why it works: It trains the posterior chain — essential for posture and fall prevention. The upper work improves upper body posture.
3. Step-Tap with Tempo Change
Builds rhythm, timing, and confidence.
- Step to the side or alternate knee lifts
- Tap the floor or lift the knee
- Change tempo: tap/lift → tap/lift → tap/lift/hold. Play with the speed
Why it works: It challenges the nervous system safely and improves reaction time and balance.
The Confidence Effect
When seniors feel stronger and more responsive, everything changes:
- They walk taller
- They move more
- They trust their bodies
- They reduce fear of falling
- They regain independence
Power is not about being “athletic” or super fit. It’s about being capable.
Conclusion
If you teach seniors — or if you are a senior — start thinking beyond balance. Gentle power training is one of the most effective ways to improve mobility, confidence, and quality of life.
Pilates offers the perfect environment to build it safely, mindfully, and joyfully, but add other exercises, too, that will help this older population maintain their independence long into their golden years.